
Spray Ceramic Coating
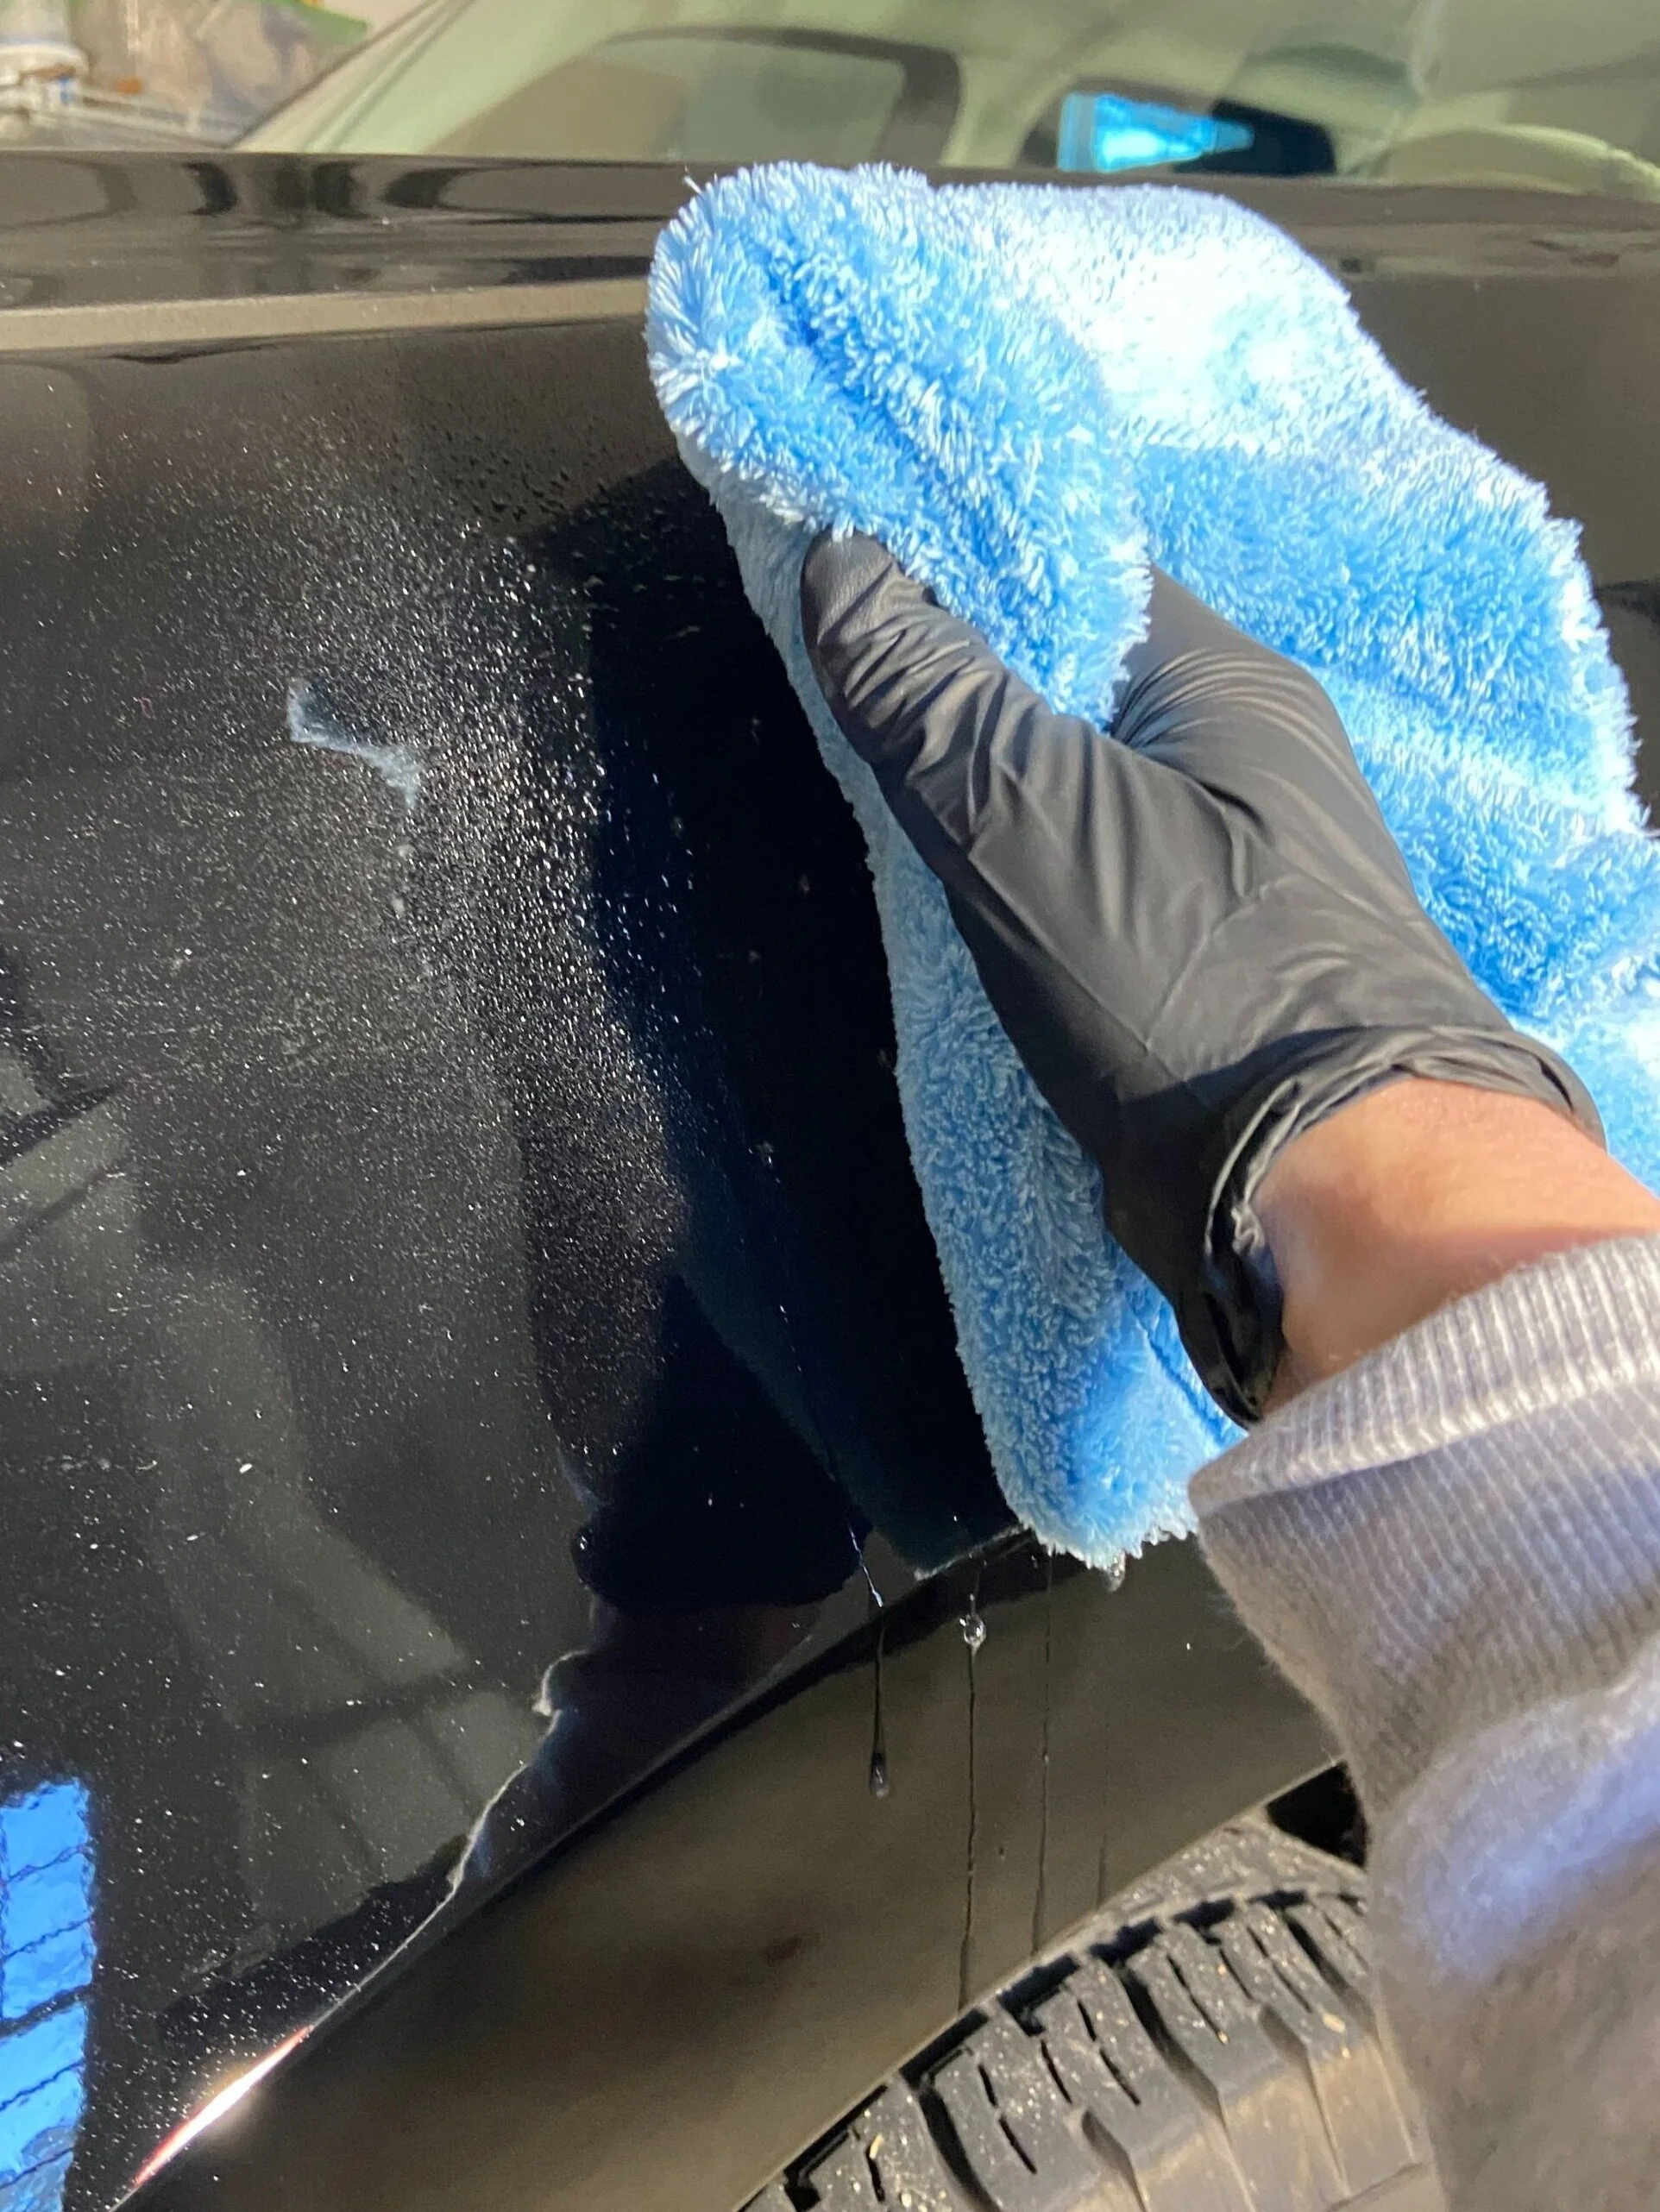
The normal exterior detail is carried out with the exception of using a degreaser to strip old protection from the paint.
The paint is dried with a microfiber towel and car dryer to ensure their is no water remaining.
A panel prep is used right before the application of the spray ceramic coating to ensure there is a completely bare surface for best performance.
Coating is applied and buffed off with a microfiber towel.
Provides 6-12 months of gloss, protection, and hydrophobics.
Steam Cleaning
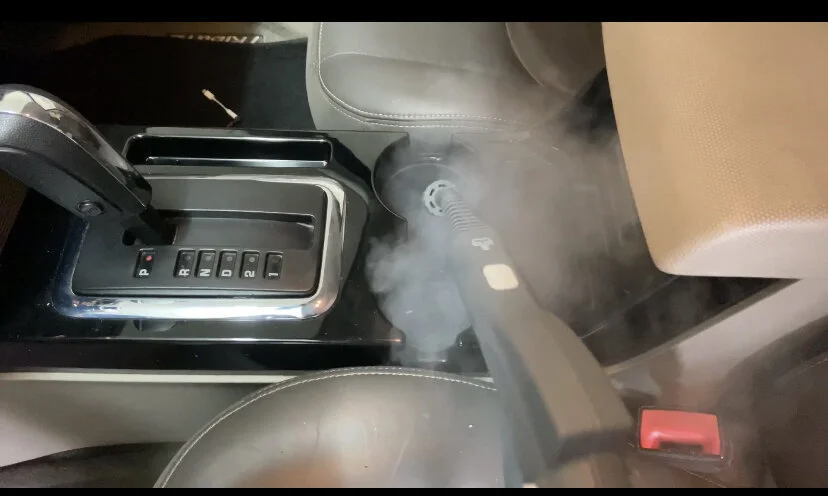
Normal interior detailing process with the use of steam.
Steam can safely be used on all areas except the infotainment section of the car.
Advantages of steam are getting a deeper clean and eliminating funky odors in the vehicle.
Helps remove heavy stains and other sticky substances through out the car.
Iron Remover and Clay Bar
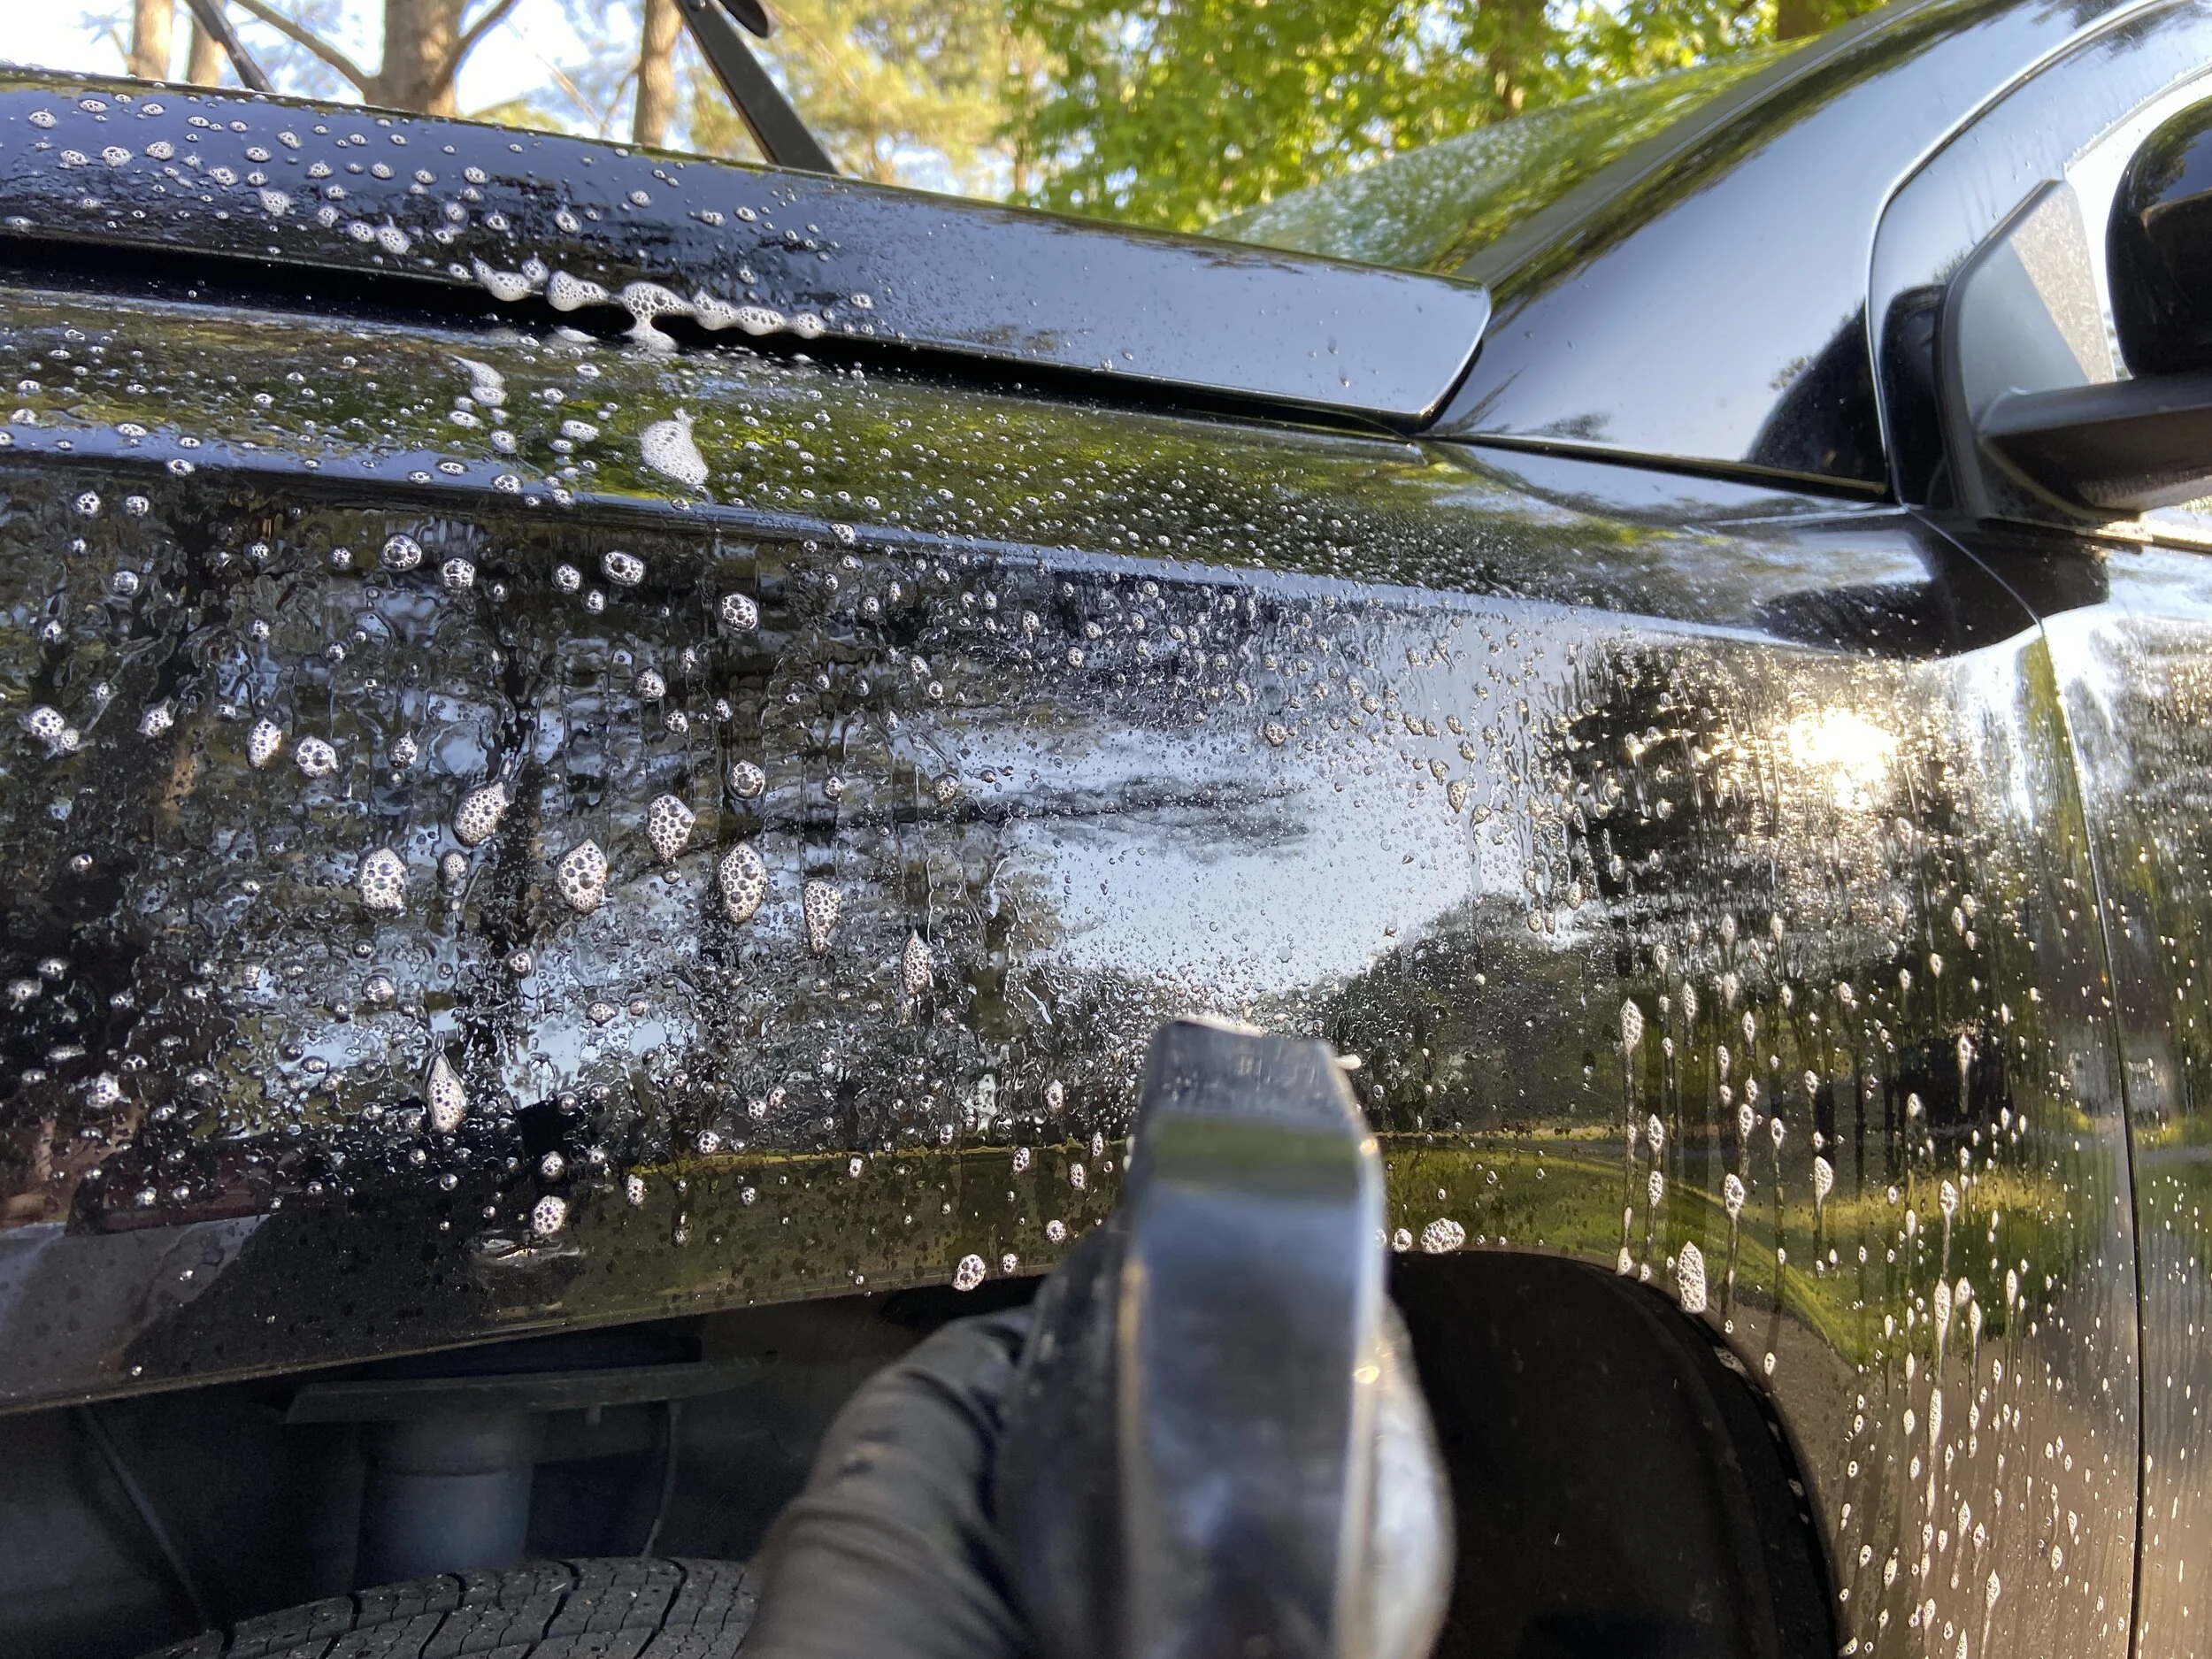
Removes embedded contaminants that are stuck in the clear coat.
Iron remover is a chemical way of removing these contaminants.
Clay bar is a physical way of removing these contaminants.
This service will make the paint look clearer and feel smoother.
*The clay bar stage will leave behind micro marring because it's a mild abrasive. It is best to follow up with a one step polish or just use the iron remover.*
Engine Bay Detail
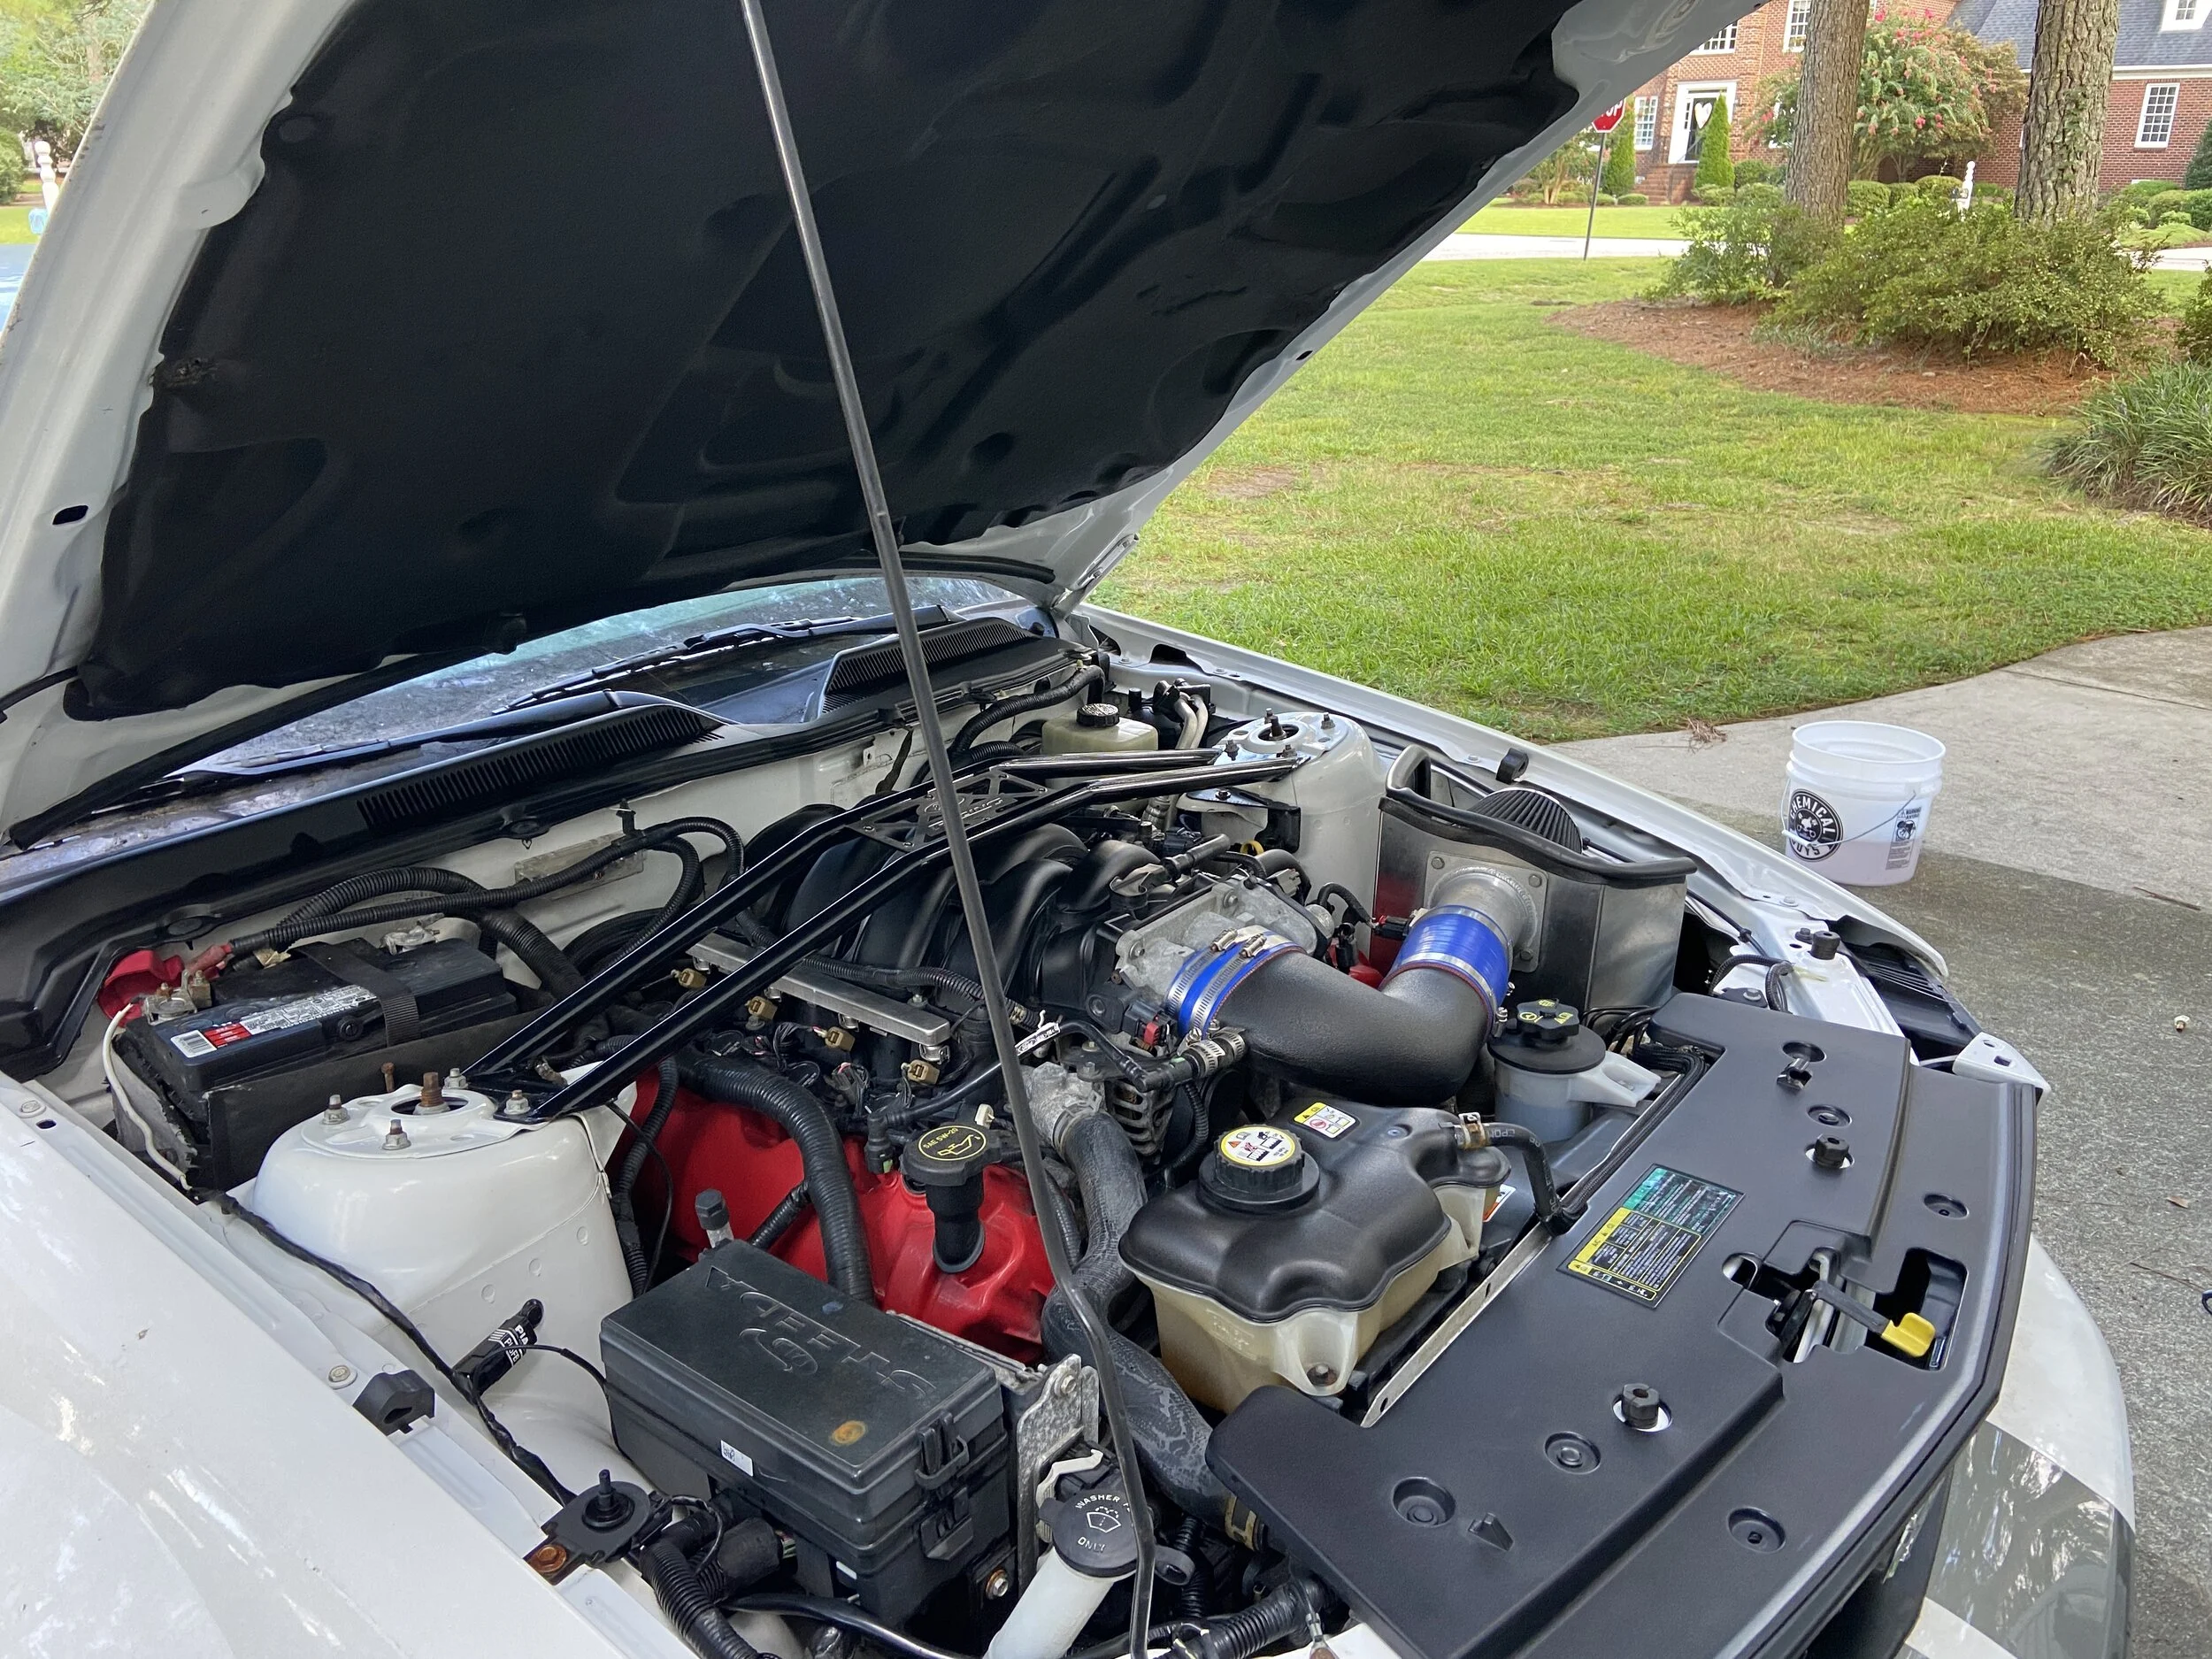
All open exposed wiring is bagged off and minimal water is used during this process.
An all purpose cleaner, teamed up with several brushes are used to clean the motor.
Once cleaned and rinsed off, a car dryer is used to blow all remaining water out.
Plastics and trim are dressed to improve the appearance and provide protection.
Glass Polishing
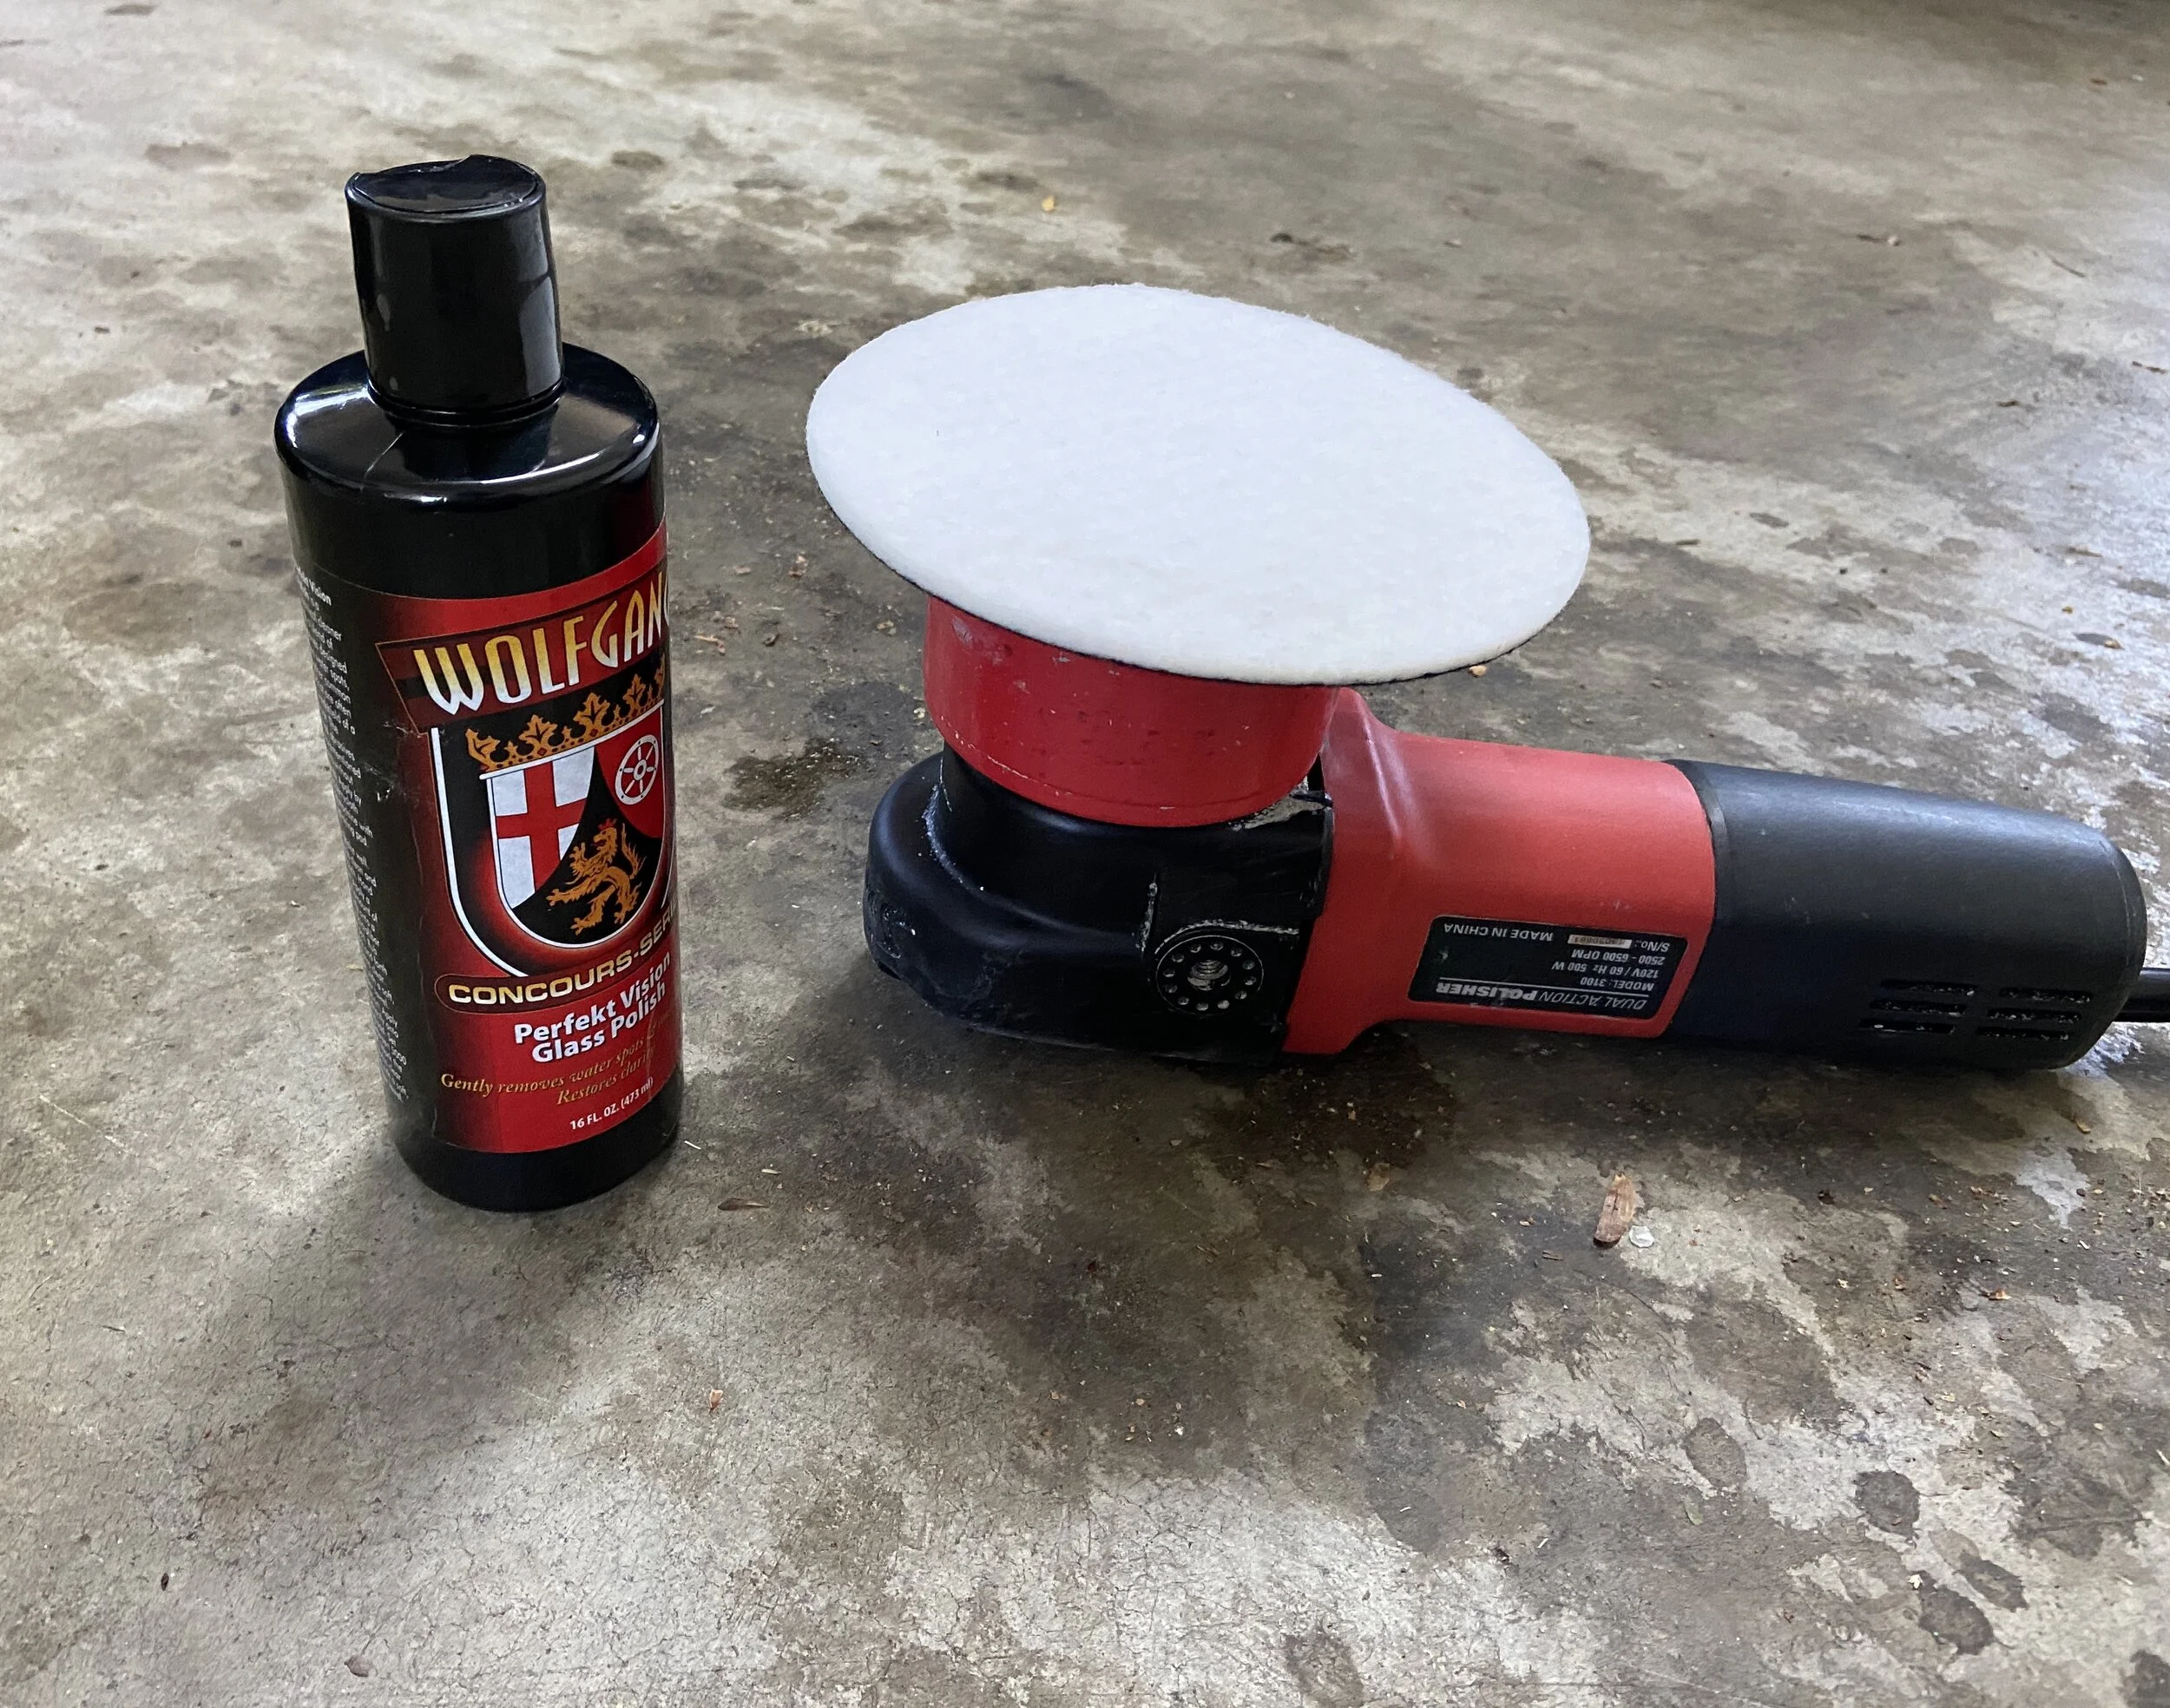
Glass is prepped with the use of a glass cleaner followed up by a clay bar.
All trim and surrounding areas of the glass are taped off to prevent staining.
Polishing occurs with a dual action buffer in combination with appropriate pads and polish.
Polish residue is removed from the glass by using a panel prep.
End result is a super smooth windshield removing any hard water spots and etching off of it.
Before Headlight Restoration
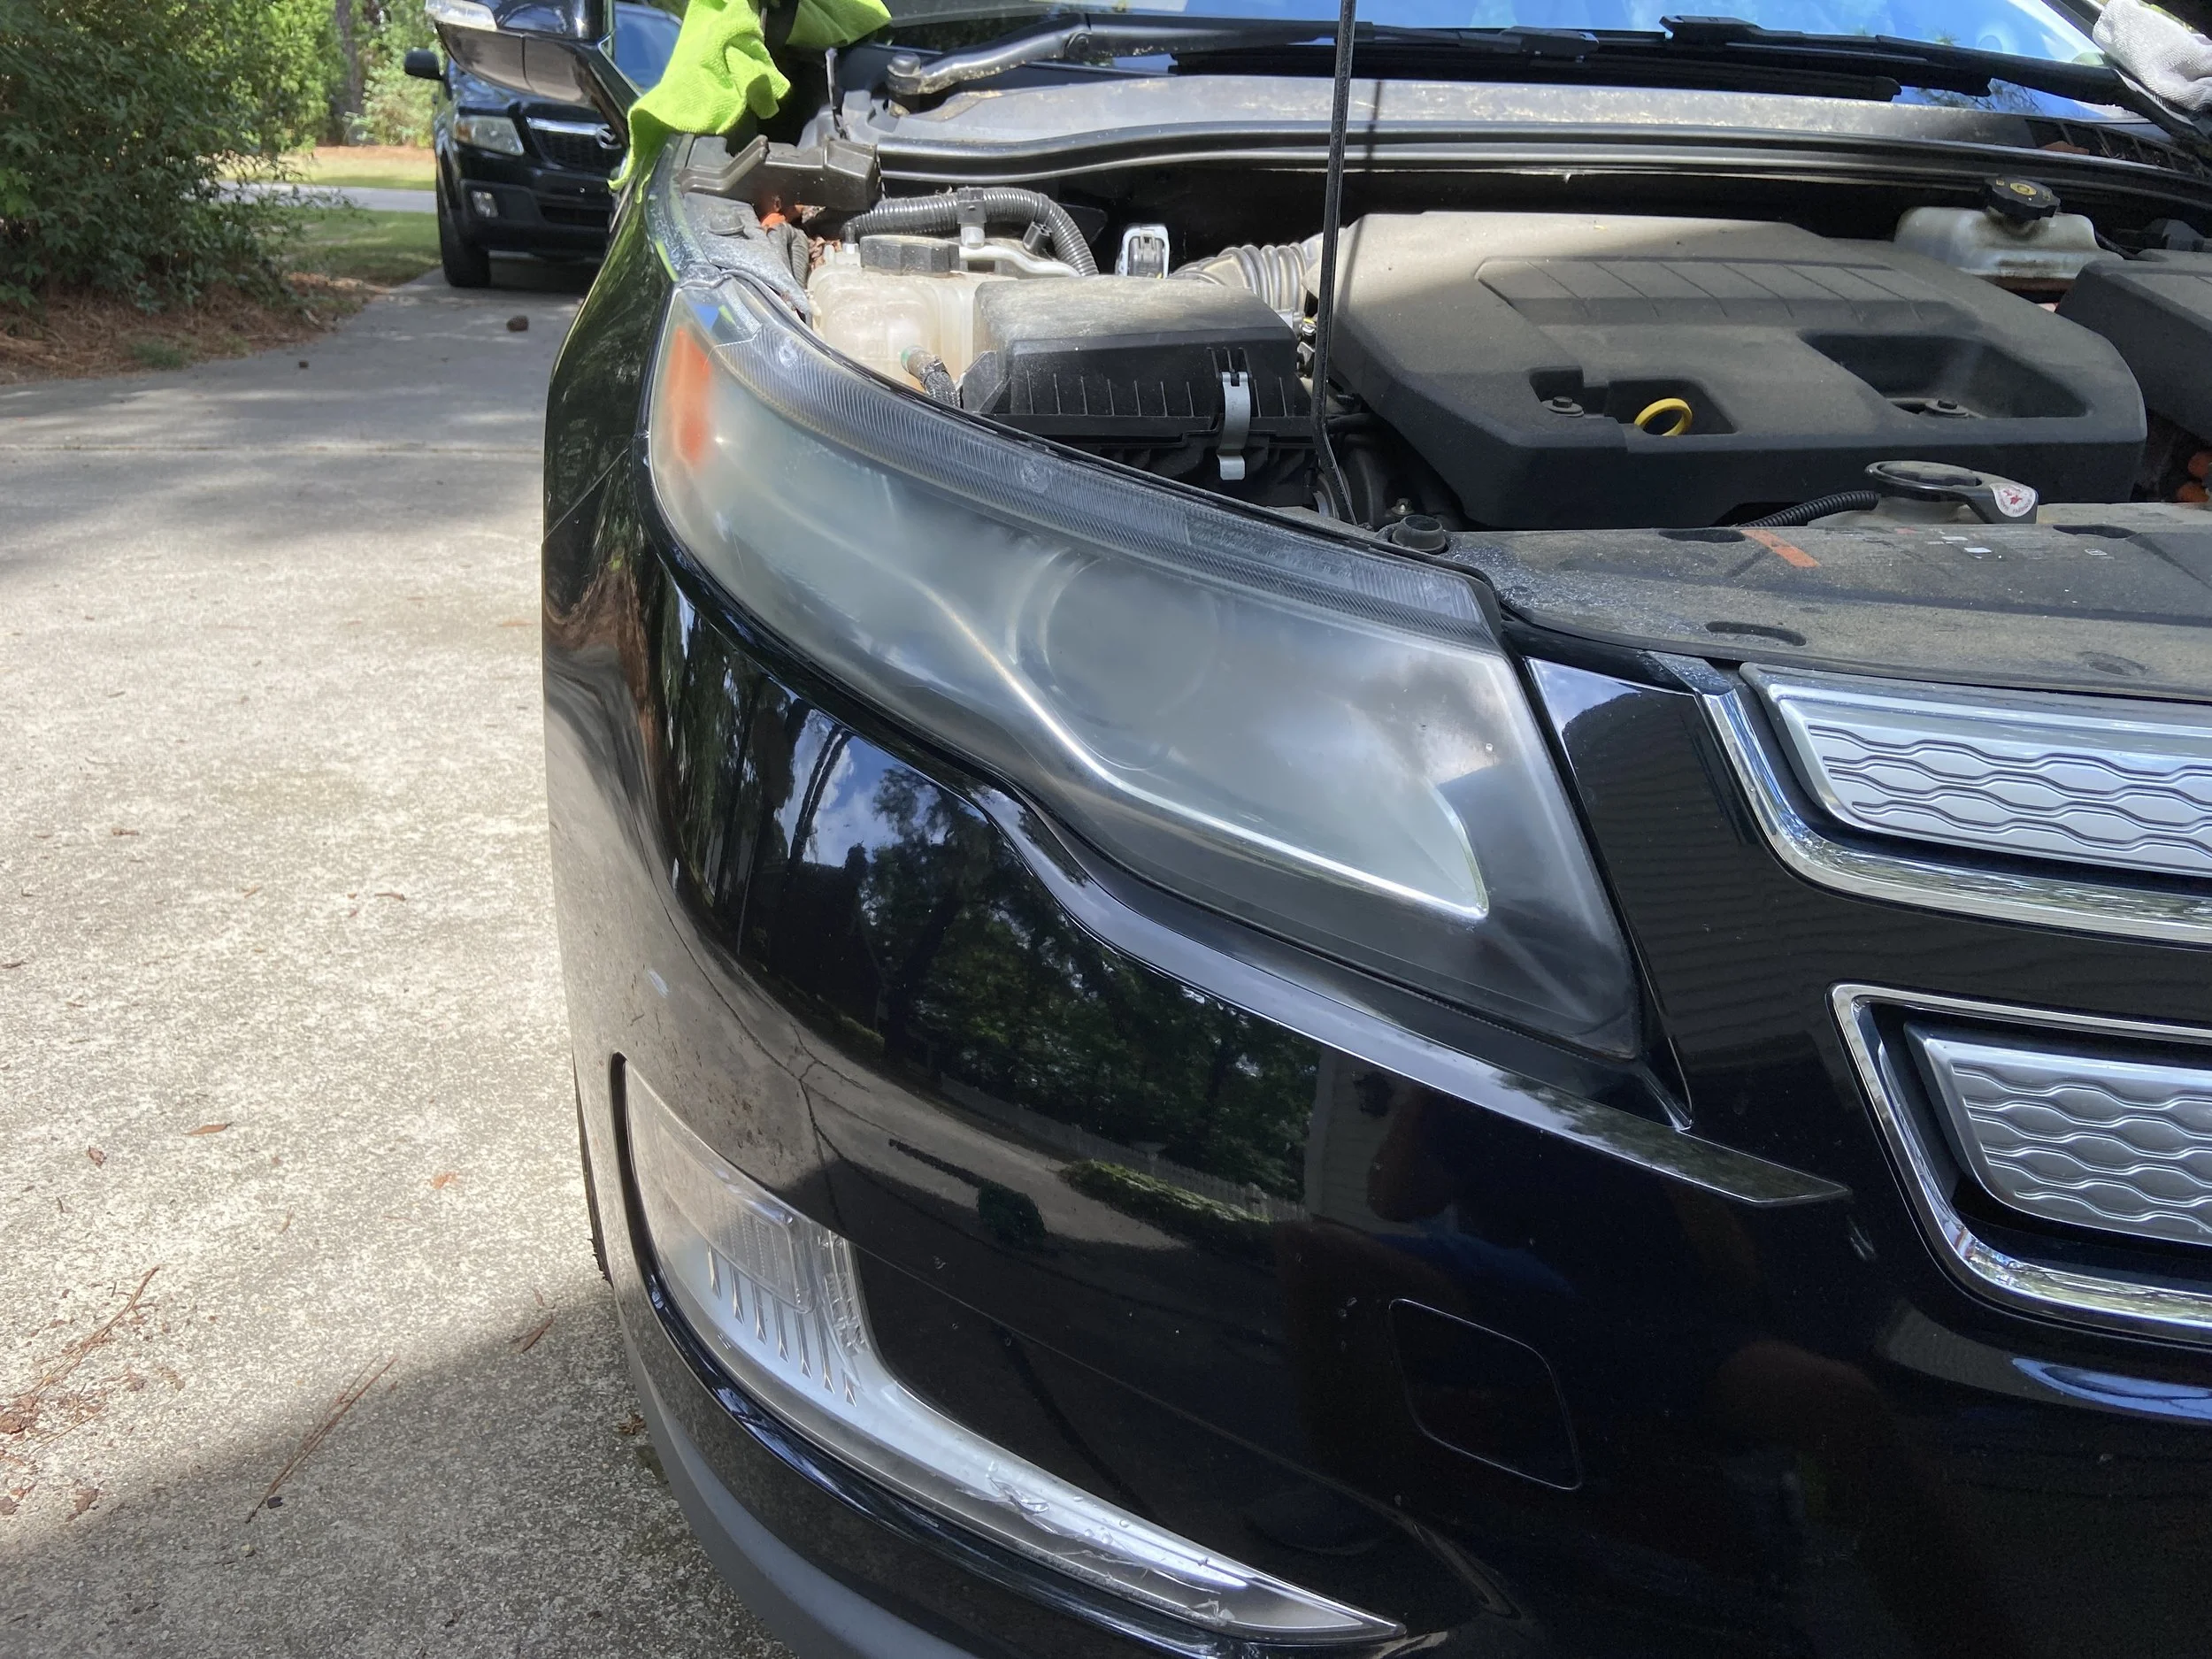
These headlights suffered from oxidization impacting there appearance and functionality.
Oxidization can occur over time when the headlight is exposed to the elements.
After Headlight Restoration
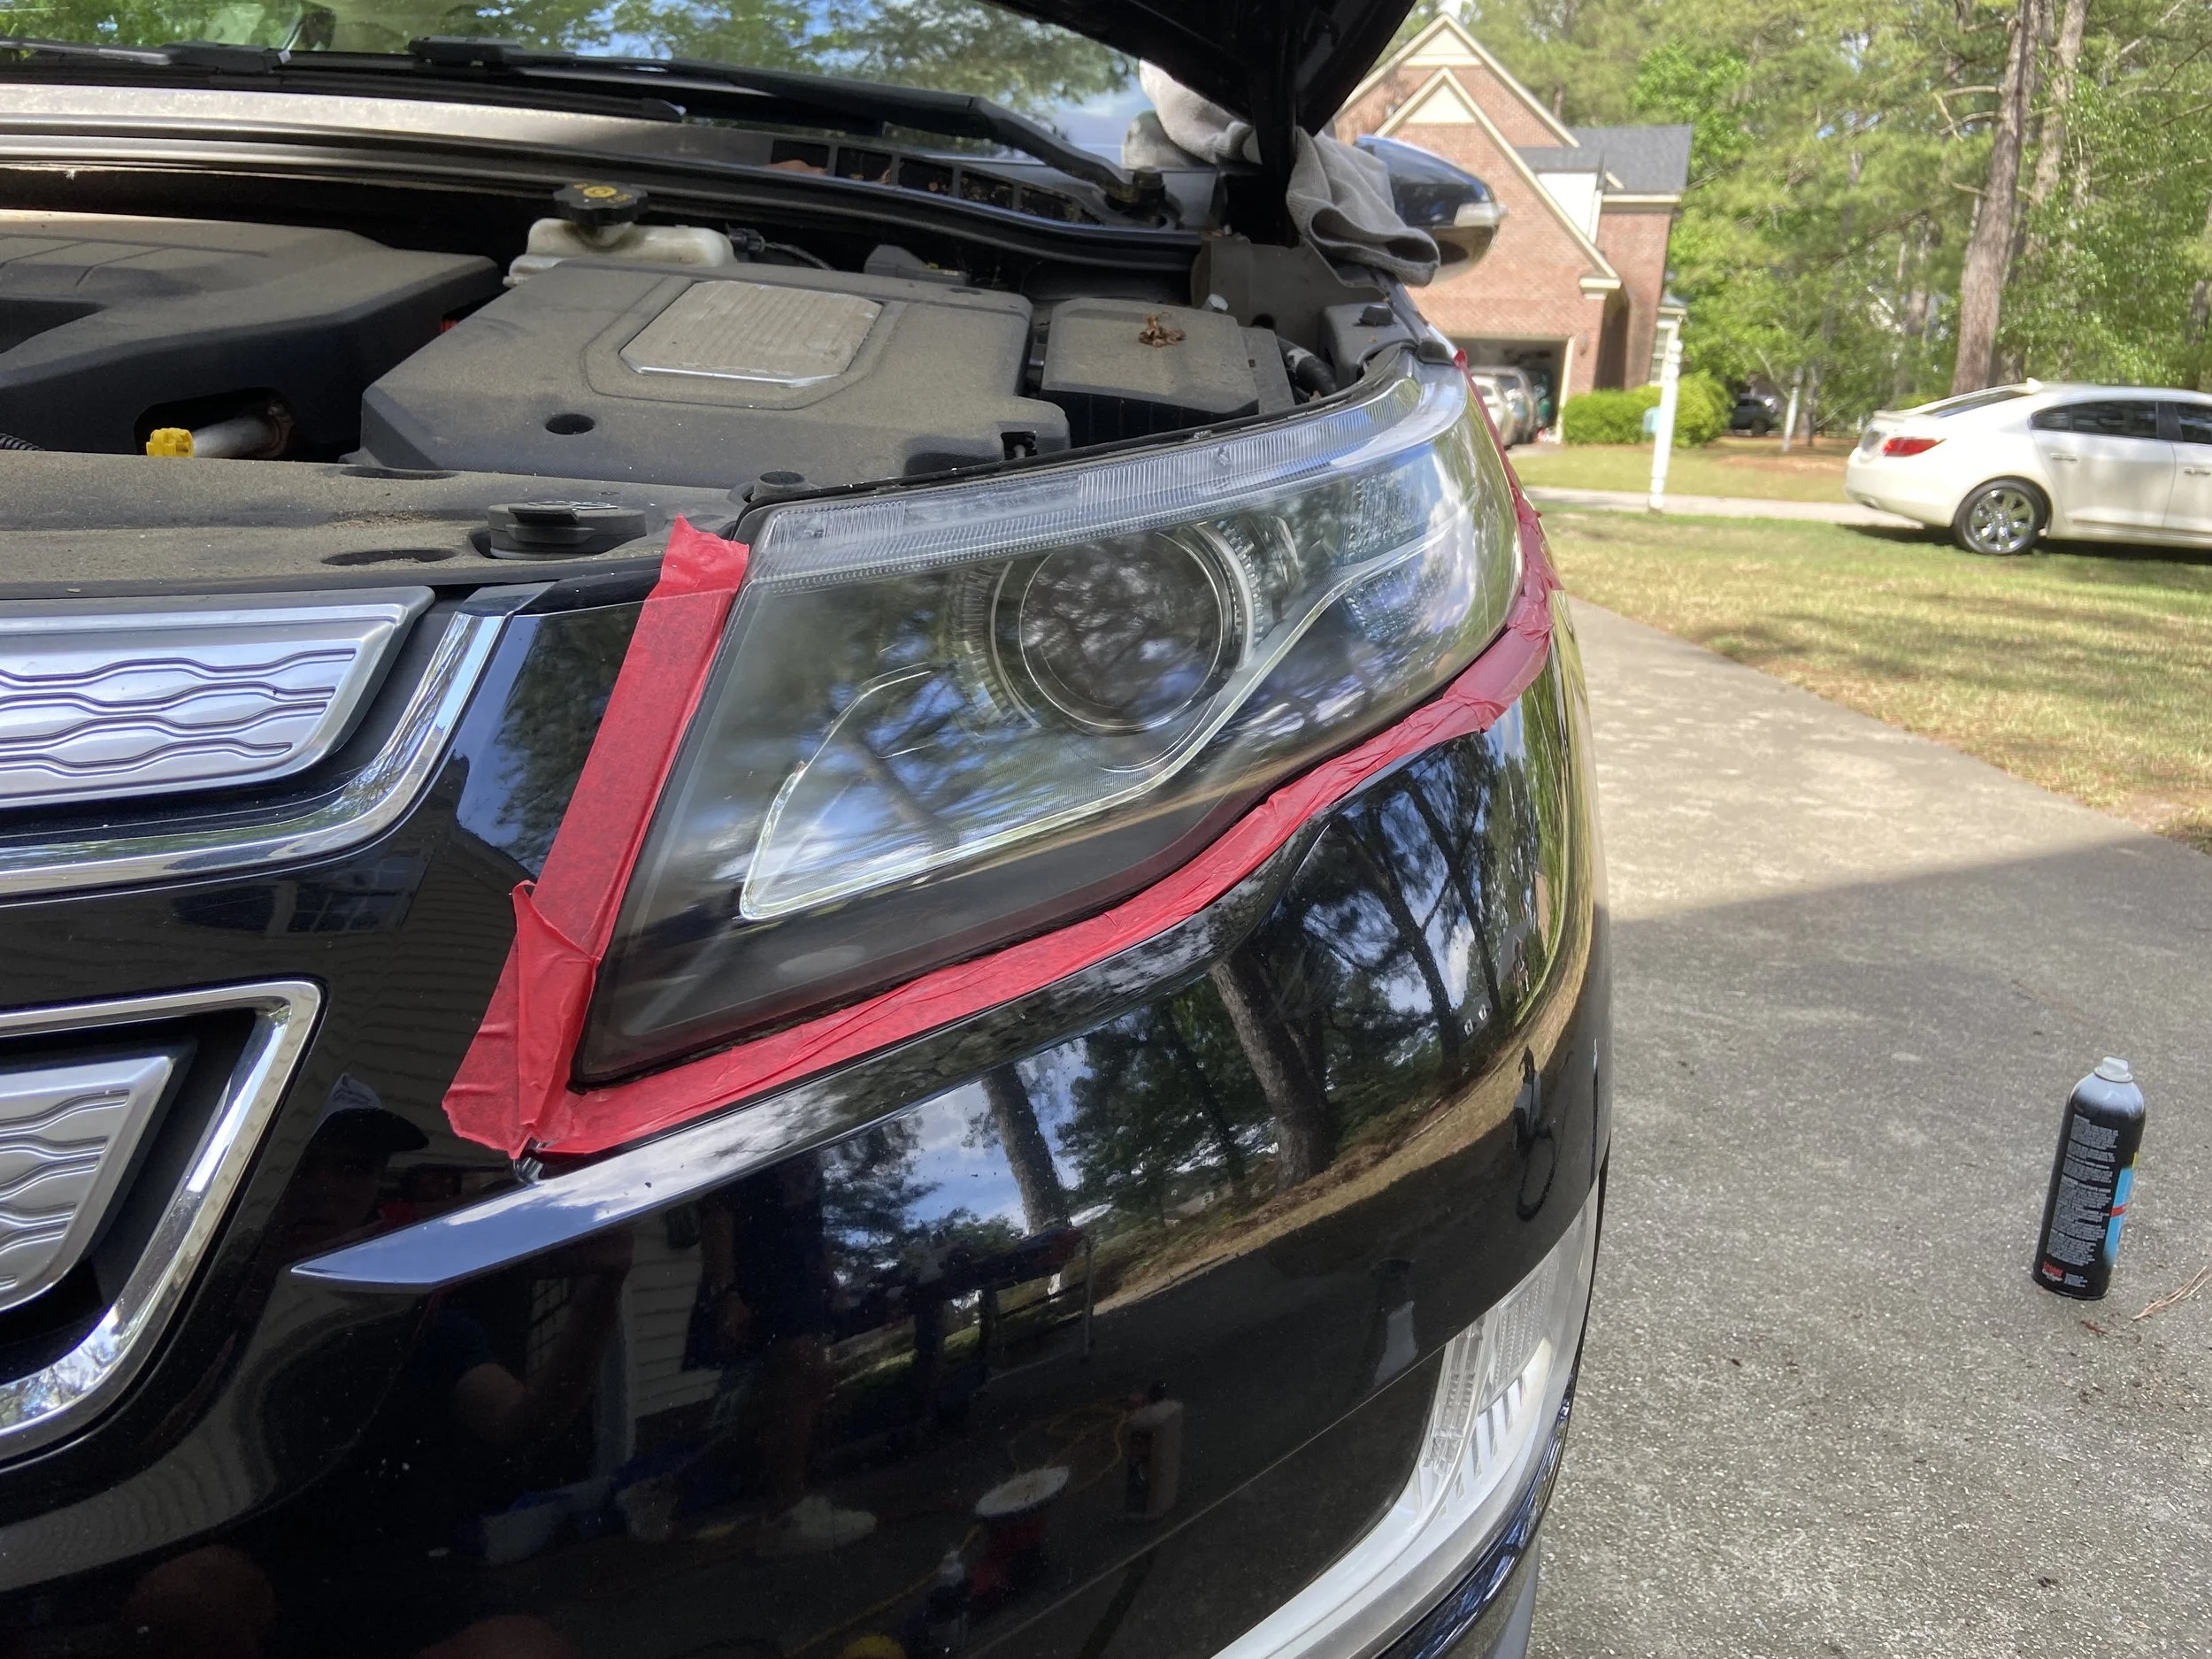
The first step in restoring the headlights is cleaning them during the normal wash process.
Next, the headlights are then clay barred to remove any embedded contaminates.
After this, the surface of the headlights are restored with the use of a 3 inch dual action polisher. The polisher removes the oxidization improving the clarity and functionality of the headlights.
Once completed, the headlights are cleaned of any polishing residue using a panel wipe and then protected with a spray ceramic coating. The spray ceramic coating will help keep the headlights looking good and help prevent future oxidation.
Paint Correction
Before any paint correction can occur the surface must be adequately prepped. The first step is using a strip wash to remove any prior protection on the paint’s surface. A clay bar is then used around the surface of the paint to remove bonded contaminants that do not come off during the normal contact wash. After the paint is washed and decontaminated, the area is then dried off with a microfiber towel and compressed air. Compressed air is used to remove water from any seals or other gaps around the car. This ensures the paint is completely dry and no water will be on the surface. An IPA wipe is used as the last step before any correction occurs.
There are two levels of paint correction, a one-step or a two-step. A one-step involves using a finishing polish and finishing pads around the car. A one step will remove light to moderate marring, swirling, water spots, and is mainly used to refine the finish. A two-step involves a compounding phase that requires compounding pads and a compound product. The compounding phase removes heavy defects in the paint, but leaves what is known as micro-hazing. The surface will be free of deep defects, but the surface is cloudy from the compounding stage. This is where the polishing phase comes in. The polish and pads used in the one step would be used to follow up compounding to restore the finish and improve clarity.
One important thing to note, it is not wise or sometimes even possible to go for 100% paint correction because of the risk of clear coat failure and other issues down the road. When compounding or polishing paint, you are removing a small portion of the clear coat to level out the surface. The goal is to remove as little clear cut to obtain the ideal results. If trying to remove every single scratch, swirl, or imperfection the risk of ruining the clear coat goes up dramatically. Paint correction should be viewed as the the amount of improvement accomplished.